Seminars Setup Guide
Intro
This guide provides an overview of the steps needed to configure Seminars. Essentially, you need to:
- Create a topic list, one for each Topic Stream
- Create and configure a Seminar Profile
- Create a Channel of Seminar Type
- Add Responsive Seminar Articles
Note: there is plenty of on-screen help when managing any of these elements so make sure you have both the introductory help panel expanded and turn on the help when editing any of the items.
Topic Lists
You will first need to create a Topic List containing a sub-topic for each Seminar Stream. This means you can categorise your seminars into groups and colour-code them accordingly.
Create Topic List
Create a new Topic, e.g. Seminar Streams.
Add a sub-topic for each Stream (category) of Seminars
e.g.
Seminar Streams
> Content Management
> Digital Marketing
> Mobile Applications
> Web Design / UX
> Web Development
For each sub-topic, you can optionally add a Color. This will then color-code each seminar article to their stream.
Seminar Profiles
Create a Seminar Profile. Provide the following information:
Main Panel
- Parent Topic Stream. Once selected it will list its children topics when you go to choose Topic Streams
Topic Streams. Select each stream you wish to display, sort the order as required with the up/down arrow besides the field.
- Location. Select the Location topic
Show Interested Participants. Select to display a list of Contacts who have added Seminars to their itinerary.
- Show Itinerary. If selected, this will add the Itinerary function to the seminars where users can add Seminars to their Itinerary and you will be able to see who is interested in which Seminar.
- Show Bio Popup. If selected, this will display the speaker's biography in a popup window.
Channels
Go to Channels, create a Channel of Seminar Type. This will be where your Seminars are displayed.
Provide the following information:
Name
Parent Channel
Language
Presentation Styles. Select Responsive Seminar
Default Presentation Style. Select Responsive Seminar
Skin
Related Profile
Seminar Profile
Note: The Skin must contain the Smart Prime Content Design Element.
Sections
Go to the Seminar Section that was created with the Seminar Channel.
Select the Responsive Seminar Listing Presentation Style.
Responsive Seminar Articles
Create Seminar Articles under the Seminar section.
Provide the following information:
Presentation Style. Select Responsive Seminar if not already set
Section. Select Section if not already set
Title
Teaser
Keyword. Select the Seminar Topic to which you want to categorise this article, e.g. Content Management
Detail
Location
Speakers
Logo
Start Date/Time. This is the Seminar start date/time and not the publish start date/time
End Date/Time. This is the Seminar end date/time and not the Publish End date/time
Auto Generate Calendar Invite. Select this if you wish to auto generate the ICS file
Calendar Invite File. Upload an ICS file for the calendar invite (this will appear on the event detail screen). Only .ics file format is supported.
Live
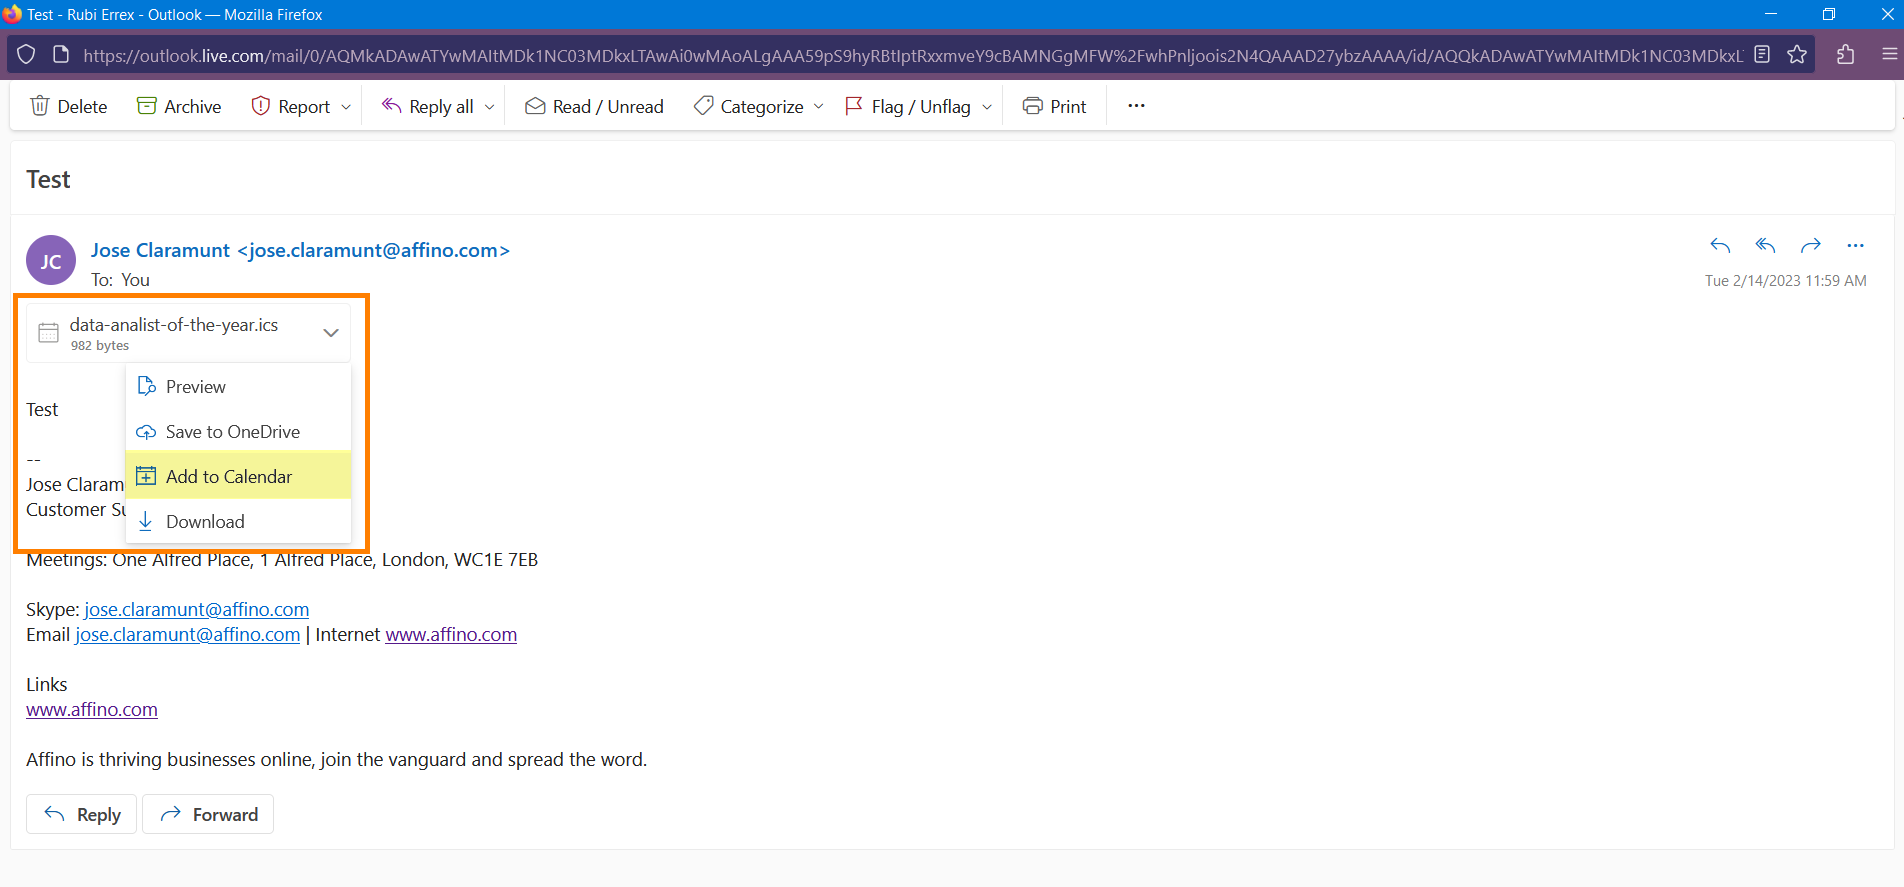
Sharing the calendar invite
Users can share the calendar invite by downloading it from the article:

- and saving it on their device.
From there, users can attach it to an email and send it to their contacts.

Those contacts can add the invite to their calendar once its been received.
Did you find this content useful?
Thank you for your input
Thank you for your feedback
Meetings:
Google Meet and Zoom
Venue:
Soho House, Soho Works +
Registered Office:
55 Bathurst Mews
London, UK
W2 2SB
© Affino 2024


