Share Buttons Guide

Set up your social share buttons, select the order in which they appear and choose the image icon.
These will appear on articles, blogs, etc.
Note: only Facebook, Twitter and LinkedIn are supported.
Set up your Share Buttons
Control > Promote > Share Buttons
First of all, you will need to create the Share Button.
Fields:
- Name: Give the Profile a Name
- Description: Give the Profile a Description
- Priority Order: Add the position in which you'd like this Share Button to appear within the Share Profile
- Share Title: Add a Title for the Share Button
- Share Icon: Select an icon to represent your Share Button
- Share URL: Add the URL path to be added to Share for submission e.g: del.icio.us/post?url=
- Include Title In URL: Select to include the Title in the URL generated for the Share submission
- Include Teaser In URL: Select to include the Teaser in the URL generated for the Share submission
- Include Topic In URL: Select to include the Topic in the URL generated for the Share submission
- Open In New Window: Select to open the Share submission wizard in a new window
The icon should be set to 30px X 30px.

Example:

Set up the Share Profile
Control > Settings > Share Profiles > (Add/Edit)
In order to display the share buttons, you will need to set up or edit your existing Share Profile.
Fields:
- Name: Enter a Name for this Profile
- Description: Enter a Description of this Profile
- Channels: Select the Channels where this Profile will be applied
- Share Buttons: Select the Share Buttons to be included in the Share Profile template
Note: Use the CTRL key to select more than one option.
 Example:

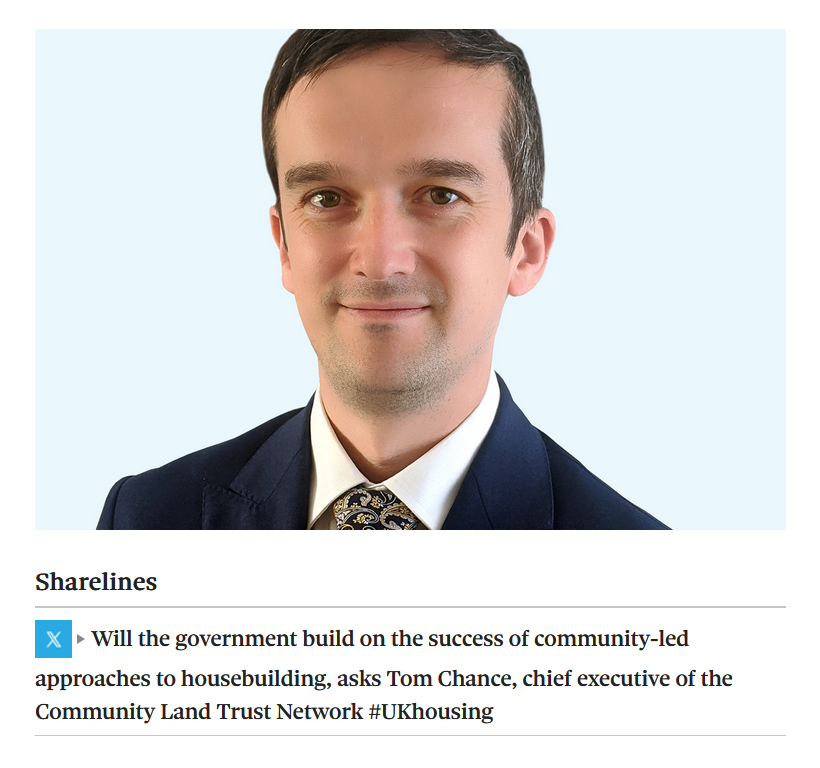
Share Buttons on Items
Once you have set up your Share Buttons and Share Profile, you will see the icons on every article where the Share Profile was applied to a channel:

Sharelines on Articles


Did you find this content useful?
Thank you for your input
Thank you for your feedback
Meetings:
Google Meet and Zoom
Venue:
Soho House, Soho Works +
Registered Office:
55 Bathurst Mews
London, UK
W2 2SB
© Affino 2024


